Here is a quick run through of a recently completed installation. We get many opportunities each year to install sod and repair irrigation systems, but this was a great example of a start-to-finish full installation of a full irrigation system and new yard of Zorro Zoysia.
Irrigation Installation
- Plan
- Permitting
- As you probably know, working with the city of Austin can be difficult.
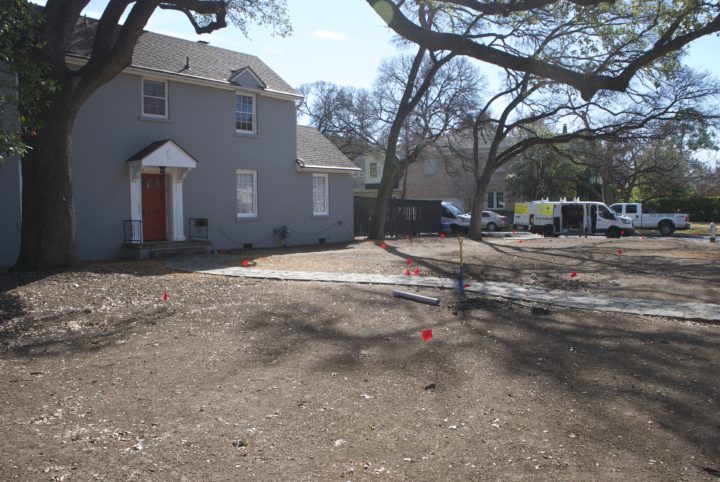
- Site Preparation
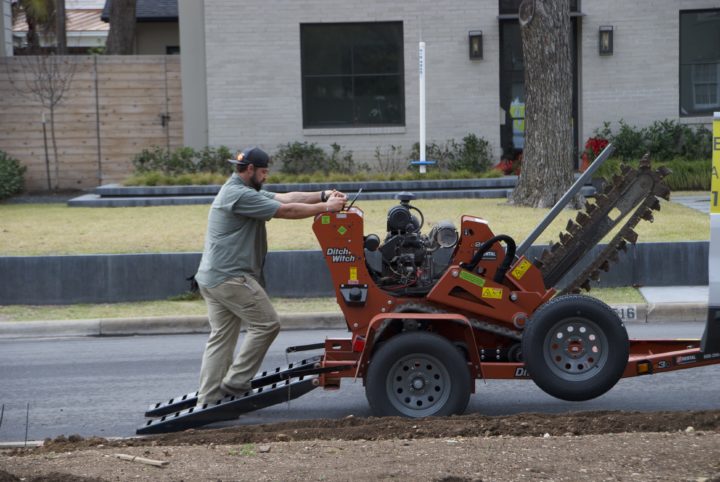
- Trenching
- We used a ditch witch – just a standard trencher – and some good old fashioned shovels.

- We used a ditch witch – just a standard trencher – and some good old fashioned shovels.
- Piping and Drip Installation
- Head installation
- For this project, we used a combination of low volume multi stream rotors (MP Rotors) and Torro precision spray nozzles (also low volume). These heads keep the precipitation rate low and the efficiency of the water use very high.
- Controller
- We chose to use a Rainbird ESP ME3
- Fill in trenches
- Submit the plan to the city
- Walk through with customer
Sod installation
- Plan

- There is a lot that goes into the logistics and planning on a job like this. We have to coordinate with several vendors and plan the right sized crew for the estimated man hours.
- Site preparation
- Remove all rock and turf from the site and smooth the area.
- (Irrigation Installation)
- Add great soilWe use landscape soil mix from Daniel Stone which is a combination of compost, granite sand, top soil, and turkey manure.
- Sod installation
- Brick pattern.
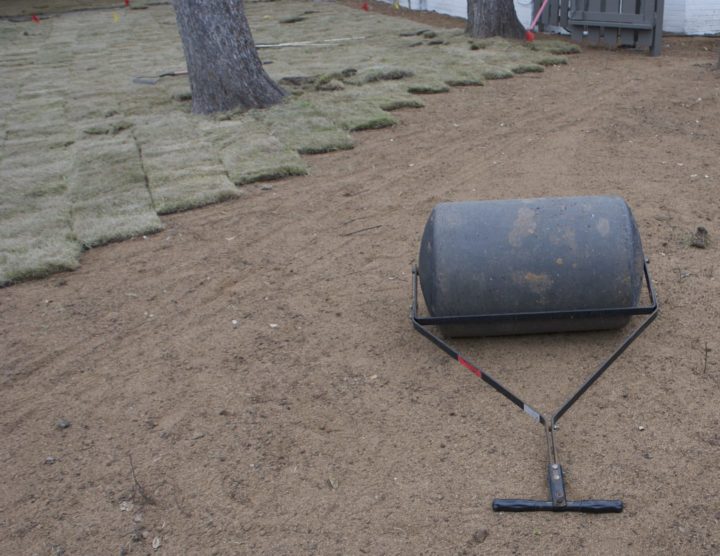
- Roll the sod
- We roll a heavy drum over all of the sod to ensure the sod is properly seated into the dirt.
- Let it grow!Winter sod looks kind of sad when installed because the turf is dormant. We will really see the sod pop in the spring.
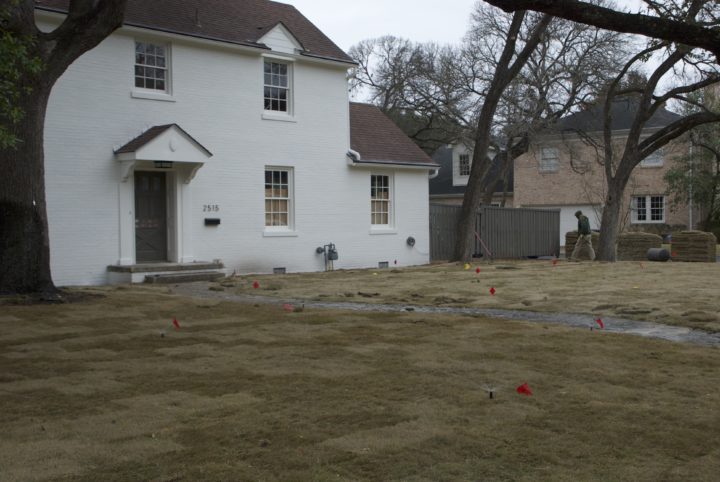 Let it grow!Winter sod looks kind of sad when installed because the turf is dormant. We will really see the sod pop in the spring.
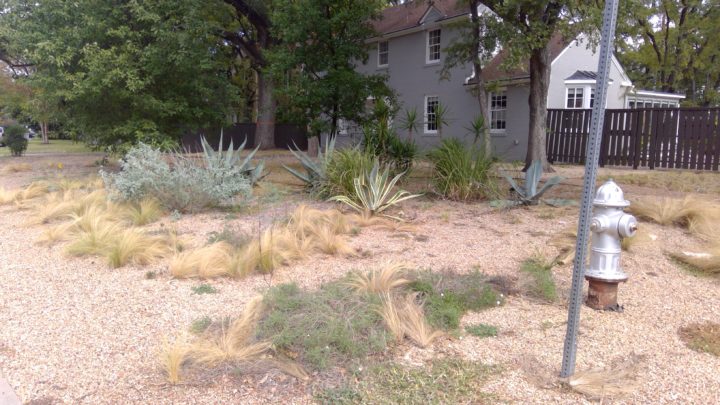
As a point of reference, this is what it looked like before…