

Folks around the country will often shut off and drain their irrigation systems entirely before the winter, but because we rarely get deep freezes, that’s not really necessary in Central Texas.
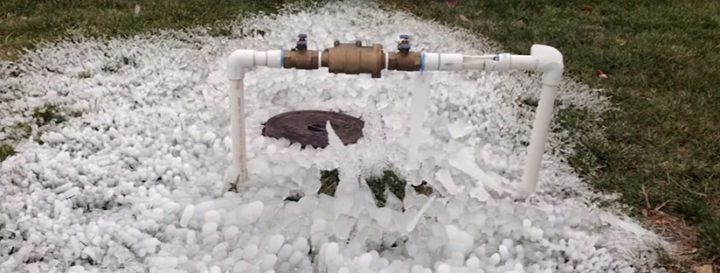
However, we still need to protect any above-ground exposed equipment: pipes, pumps, filters, and backflow preventers!
Proper insulation and winterization are especially important this year after price fluctuations have driven up the cost of brass and copper. Your backflow preventer is one piece of expensive hardware that can be located above ground — and these days, a new one can cost over $1000.
When should you winterize your backflow preventer?
First off, this guide is specifically about above-ground backflow preventers. If your device is securely enclosed in a below-ground box, the earth and air in the box will provide sufficient insulation for most winter weather events in Austin.
As soon as the temperatures reach 32 degrees, you should take basic precautions for above-ground backflow preventers. Insulating the pipes and adding an insulation bag will usually cover a freeze of a couple of hours.
Once freezing temps extend for multiple hours, you should consider fully winterizing (draining) your backflow preventer as there is an increased potential for freeze damage. There are many factors to take into consideration (wind direction, actual temperature, duration of freezing temps, shade, etc.), but it’s certainly better to be safe than sorry.
How to winterize your backflow preventer
If you’re the DIY type, you can totally winterize your backflow preventer yourself. Check out our video with Top Choice Irrigation Manager Scott Ingalls to see how it works…
Time needed: 10 minutes
Systems can look a little different, but you should be able to follow these steps on most above-ground devices. Here’s how to winterize your backflow preventer.
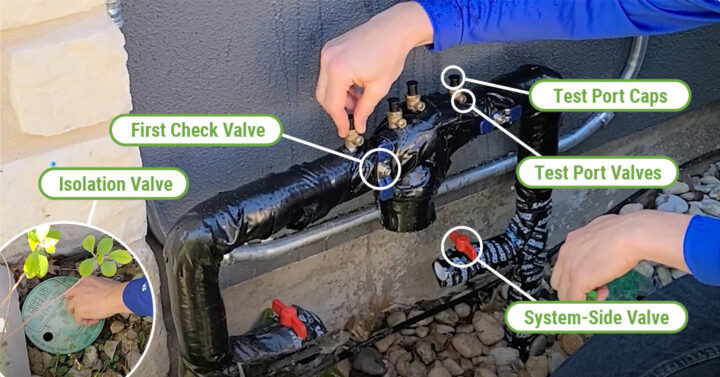
- CLOSE your isolation valve
Locate the isolation valve for your system, usually found in a green box up-stream from your backflow preventer. Turn the valve to cut off water to the whole system. If it’s a little tight, you may need to pick up a water key from your local hardware store.
If you don’t have an isolation valve, you may need to turn off the water at the “first check” valve. It will be the first valve with a small test port right above it. - REMOVE the caps from your test ports
Store them in your garage for later.
- OPEN the ball valve on the system-side of your device
This relieves any pressure in your irrigation system. Water will drain from the bottom.
- OPEN each test port on top
Use a screwdriver to open each small test port on top of the device. Water will drain from each.
Additional steps to winterize your irrigation system
The same idea can be applied to any other exposed pipes and hardware around your system. Familiarize yourself with any above-ground pumps, filters, pipes, or other hardware.
Typically relieving the pressure at your backflow preventer, will drain these parts and allow room for any residual water to expand as it freezes.
If you have any drip hoses, these will often have a special valve to drain and relieve pressure.
A full system purge and winterization aren’t really necessary in Austin because we rarely get truly deep freezes that penetrate into the ground. That earth is typically more than enough to insulate your below-ground pipes.
We’re here to help!
Got any questions? We’re happy to help guide you or take care of it for you. Until you’re familiar with your unique system, you don’t want to mess around with potential costly freeze damage!
Contact us today at (512) 291-7050 or request a fast free quote to schedule your winterization service.